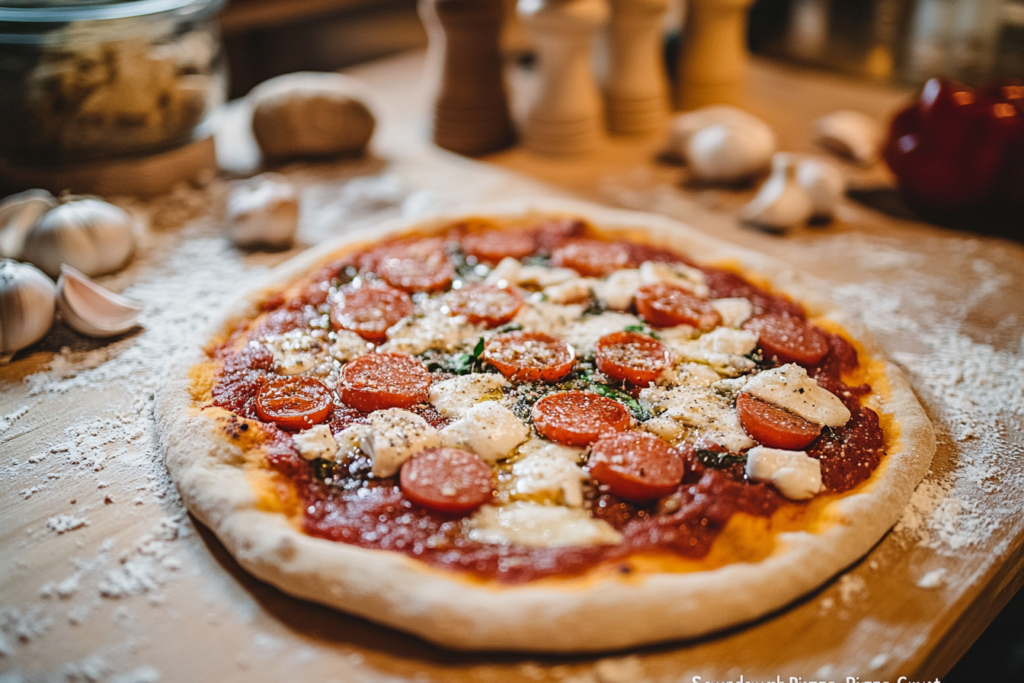
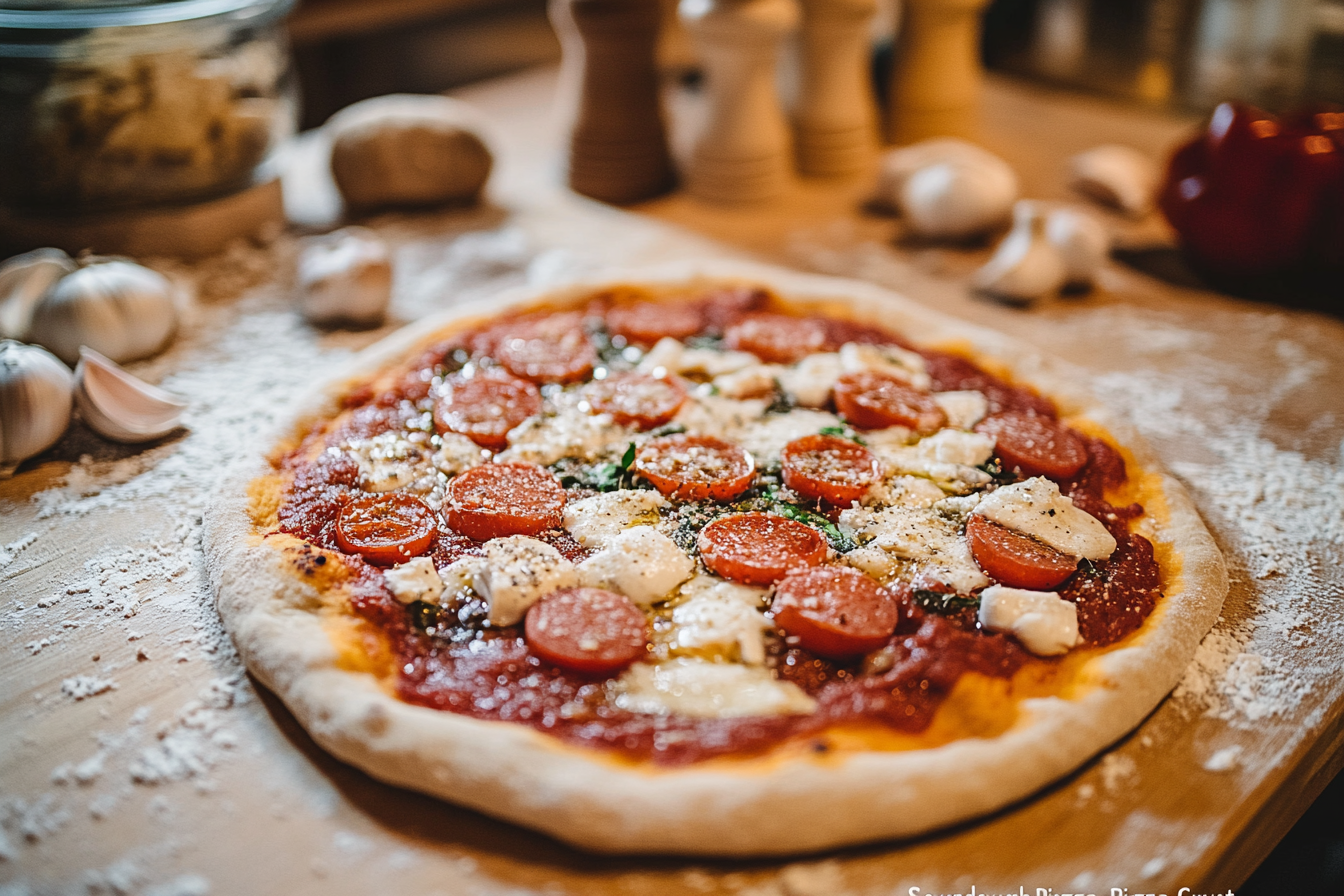
Understanding Sourdough Pizza Crust

What Is Sourdough Pizza Crust?
A sourdough pizza crust is a unique alternative to traditional pizza dough, made using a naturally fermented sourdough starter rather than commercial yeast. This process infuses the crust with a tangy, complex flavor and creates a texture that’s delightfully chewy and airy. Unlike conventional methods, sourdough relies on wild yeast and beneficial bacteria to work their magic over time, producing a crust that’s both delicious and healthy.
The key to sourdough lies in its fermentation. As the dough rests, it undergoes a transformation where enzymes break down proteins and starches, unlocking flavors you won’t find in quick-rise recipes. Each bite is a testament to the power of natural ingredients and patience.
Benefits of Using Sourdough in Pizza Dough
Enhanced Flavor Profile
One of the most celebrated advantages of sourdough is its flavor. The natural fermentation process develops subtle tangy notes, a slightly nutty undertone, and an aroma that’s absolutely irresistible. This depth of flavor elevates your pizza experience, no matter the toppings.
Improved Digestibility
The extended fermentation of sourdough pizza dough partially pre-digests the gluten and starches, making the crust easier to digest for many people. This also enhances the nutrient availability of the flour, ensuring every slice is as nourishing as it is tasty.
Natural Leavening and Fermentation
Using a sourdough starter means you’re working with a live culture of wild yeast and bacteria. This not only ensures a beautifully risen crust but also eliminates the need for artificial leavening agents. It’s a truly natural approach to pizza making!
Preparing Your Sourdough Starter
What Is a Sourdough Starter?
A sourdough starter is the cornerstone of every great sourdough pizza crust. It’s a live, fermented culture made from just flour and water that captures wild yeast and lactic acid bacteria from the environment. These microorganisms work in harmony to naturally leaven dough while contributing a distinctive tangy flavor and tender texture. Unlike commercial yeast, a starter is alive and evolving, making it a unique and essential part of sourdough baking.
This natural leavening agent isn’t just a tool for fermentation—it’s an ingredient that connects you to the age-old tradition of breadmaking. From its bubbly surface to its earthy aroma, a sourdough starter is a little jar of magic that transforms simple dough into something extraordinary.
How to Create and Maintain a Healthy Starter
Ingredients Needed
Creating a sourdough starter requires only two simple ingredients: flour and water. Opt for unbleached, whole grain flour if possible, as it contains more natural yeast and bacteria. Use filtered water to avoid any chlorine that might hinder fermentation.
Step-by-Step Guide to Cultivating a Starter
- Day 1: In a clean jar, mix 50g of flour with 50g of water. Stir until smooth, cover loosely, and let it sit at room temperature.
- Day 2-4: Feed the starter daily by discarding half of it and adding another 50g each of flour and water.
- Day 5: By now, your starter should be bubbly and have a tangy aroma. It’s ready to use when it doubles in size within 4-6 hours of feeding.
Feeding and Maintaining Your Starter
To keep your starter healthy, feed it daily if stored at room temperature or weekly if refrigerated. Always discard half before feeding to ensure consistent growth. Remember, a well-maintained starter is key to a successful sourdough pizza crust recipe!
Essential Ingredients and Equipment for Sourdough Pizza Crust
Key Ingredients
Flour Selection
The type of flour you choose will impact your crust’s texture and flavor. High-protein bread flour creates a chewy base, while all-purpose flour yields a softer crust. Experimenting with blends of whole grain and white flours can add depth to your dough.
Water Quality
Water is just as important as flour. Use filtered or spring water to avoid chlorine, which can interfere with fermentation. The right water helps your starter thrive and your dough achieve the perfect consistency.
Salt and Its Role
Salt enhances flavor and strengthens gluten structure in the dough. Use fine sea salt for even distribution and an unmissable touch of flavor.
Olive Oil (Optional)
Though not essential, a splash of olive oil can add richness to your dough and help with crispiness when baked.
Necessary Equipment
Mixing Bowls
Choose bowls with enough space to accommodate dough expansion during mixing and fermentation. Non-reactive materials like glass or stainless steel are best.
Kitchen Scale
Precision matters in baking. A digital scale ensures accurate measurements for perfect dough hydration.
Dough Scraper
This tool is a baker’s best friend for mixing, dividing, and shaping the dough without sticking.
Pizza Stone or Baking Steel
These tools mimic the high heat of a pizza oven, ensuring a crispy and evenly baked crust. Preheat them thoroughly for the best results.
Oven Considerations
A well-calibrated oven is vital. If possible, use an oven thermometer to confirm the correct baking temperature, ensuring the crust bakes evenly.
Step-by-Step Guide to Making Sourdough Pizza Crust

Mixing the Dough
Measuring Ingredients Accurately
Accuracy is crucial for achieving the right dough consistency and hydration. Use a digital kitchen scale to weigh your flour, water, salt, and sourdough starter. This ensures consistency, which is vital for perfect results every time. A typical sourdough pizza crust recipe calls for:
- 500g flour (bread or a mix of bread and whole wheat)
- 350g water (plus 20g for later)
- 100g active sourdough starter
- 10g sea salt
Combining Ingredients
In a large mixing bowl, combine the flour and 350g of water. Mix until no dry patches remain. Let this mixture rest for 30 minutes before adding the sourdough starter and salt. Stir thoroughly until the dough forms a rough, shaggy mass. Transition the dough to a work surface and use your hands to bring it together into a cohesive ball.
Autolyse Process
Importance of Autolyse
The autolyse process allows flour to fully hydrate, making it easier to develop gluten during kneading. It also improves dough elasticity and enhances the crust’s texture.
Recommended Duration
After mixing flour and water, let the dough rest for 30–60 minutes. This short rest period significantly reduces kneading time later.
Kneading and Gluten Development
Techniques for Effective Kneading
To build gluten, use a stretch-and-fold technique. Lift one side of the dough, stretch it upward, and fold it over itself. Rotate the dough 90 degrees and repeat for about 5 minutes. Alternatively, you can use the slap-and-fold method for a more vigorous workout.
Recognizing Proper Gluten Formation
Well-kneaded dough will feel smooth and elastic. Perform the “windowpane test” by stretching a small piece of dough: if it stretches thin enough to see light without tearing, the gluten is well-developed.
Bulk Fermentation
Ideal Fermentation Conditions
Transfer the dough to a lightly oiled bowl and cover it. Let it ferment at room temperature (ideally 70–75°F) for 4–6 hours. Cooler environments may require longer fermentation times.
Timeframes for Bulk Fermentation
During this stage, the dough should double in size and feel airy. Depending on your kitchen’s temperature, this can take anywhere from 4–8 hours. Check for visible bubbles and a soft, jiggly texture.
Shaping the Dough
Dividing and Pre-Shaping
Turn the dough onto a floured surface and divide it into equal portions based on your desired pizza size. Gently shape each portion into a ball by folding the edges toward the center and rolling it under your palm.
Final Shaping Techniques
After resting the pre-shaped dough for 30 minutes, reshape it into tight, smooth balls. Place them on a lightly floured surface or in proofing containers, leaving enough space for expansion.
Proofing the Dough
Optimal Proofing Environment
Proof the shaped dough in a warm area, covered to prevent drying out. A temperature of 75–80°F is ideal for this final rise, which can take 2–4 hours.
Indicators of Proper Proofing
Press a finger lightly into the dough. If the indentation springs back slowly and partially, the dough is proofed and ready to bake. Over-proofed dough will collapse under pressure, while under-proofed dough will resist indentation.
Preheating the Oven and Baking
Achieving the Right Oven Temperature
Preheat your oven to its maximum temperature (usually 475–500°F) at least 30–45 minutes before baking. Place a pizza stone or baking steel on the middle rack to heat thoroughly.
Using a Pizza Stone or Baking Steel
A hot surface is essential for achieving a crispy crust. Transfer your shaped dough onto a floured pizza peel, add toppings, and slide it onto the preheated stone or steel.
Baking Time and Indicators of Doneness
Bake your pizza for 8–12 minutes or until the crust is golden brown with charred spots. Watch for bubbling cheese and crisp edges as signs it’s ready to enjoy!
Serving and Storage
Best Practices for Serving Fresh Pizza
To serve your sourdough pizza crust recipe at its best, let the pizza rest for 2–3 minutes after baking. This allows the crust to stabilize and prevents the toppings from sliding off. Slice it with a sharp pizza cutter and serve immediately for a warm, gooey experience. Pair your pizza with a fresh salad or a drizzle of extra virgin olive oil for an added burst of flavor.
Storing Leftover Pizza
Refrigeration Guidelines
If you have leftovers, store the pizza in an airtight container or wrap slices tightly in aluminum foil. Keep it refrigerated and consume within 2–3 days to enjoy the best taste and texture. Be sure to separate slices with parchment paper to prevent them from sticking together.
Reheating Techniques for Optimal Taste
To reheat, avoid the microwave, which can make the crust soggy. Instead, preheat a skillet on medium heat, place the pizza slice in, and cover it with a lid for a few minutes. This method crisps the crust while warming the toppings. Alternatively, use an oven preheated to 375°F for about 8–10 minutes to restore its fresh-from-the-oven quality.
Frequently Asked Questions about Sourdough Pizza Crust
Can I Use Sourdough Discard for Pizza Dough?
Yes, sourdough discard can be used in pizza dough, but it won’t rise as effectively as an active starter. It’s great for adding a mild sourdough flavor to the crust while reducing waste. If using discard, pair it with commercial yeast for better leavening.
How Do I Make the Crust More or Less Chewy?
The chewiness of the crust depends on hydration and flour choice. For a chewier crust, use higher hydration (more water) and bread flour with a higher protein content. For a softer crust, reduce hydration slightly and use all-purpose flour.
What Is the Ideal Thickness for Sourdough Pizza Crust?
The ideal thickness depends on personal preference. For a Neapolitan-style pizza, aim for a thin crust of about 2–3 mm. For a heartier crust, let the dough rise slightly thicker, around 5–7 mm before baking.
How Can I Prevent My Dough from Sticking to the Peel?
Dust your pizza peel generously with semolina or cornmeal before transferring the dough. These coarse grains act like tiny ball bearings, ensuring the dough slides off smoothly. Work quickly to prevent the dough from absorbing the dusting flour and sticking.
Is It Necessary to Use a Pizza Stone?
While a pizza stone isn’t strictly necessary, it’s highly recommended for achieving a crispy crust. If you don’t have one, use an inverted baking sheet preheated in the oven as an alternative.
How Do I Achieve a Crispy Crust in a Home Oven?
Preheat your oven and pizza stone to the highest temperature possible (usually 475–500°F). Bake the pizza on the stone for even heat distribution. To boost crispiness, brush the edges of the crust lightly with olive oil before baking.
Mastering the Art of Sourdough Pizza Crust
Encouragement to Experiment and Enjoy the Process
Mastering the sourdough pizza crust recipe is as much about enjoying the journey as the result. Experiment with hydration levels, toppings, and proofing times to find your perfect pizza. Each attempt brings you closer to a masterpiece.
Now it’s your turn! Share your sourdough pizza crust recipe creations with friends and family or inspire others by sharing your variations.

